
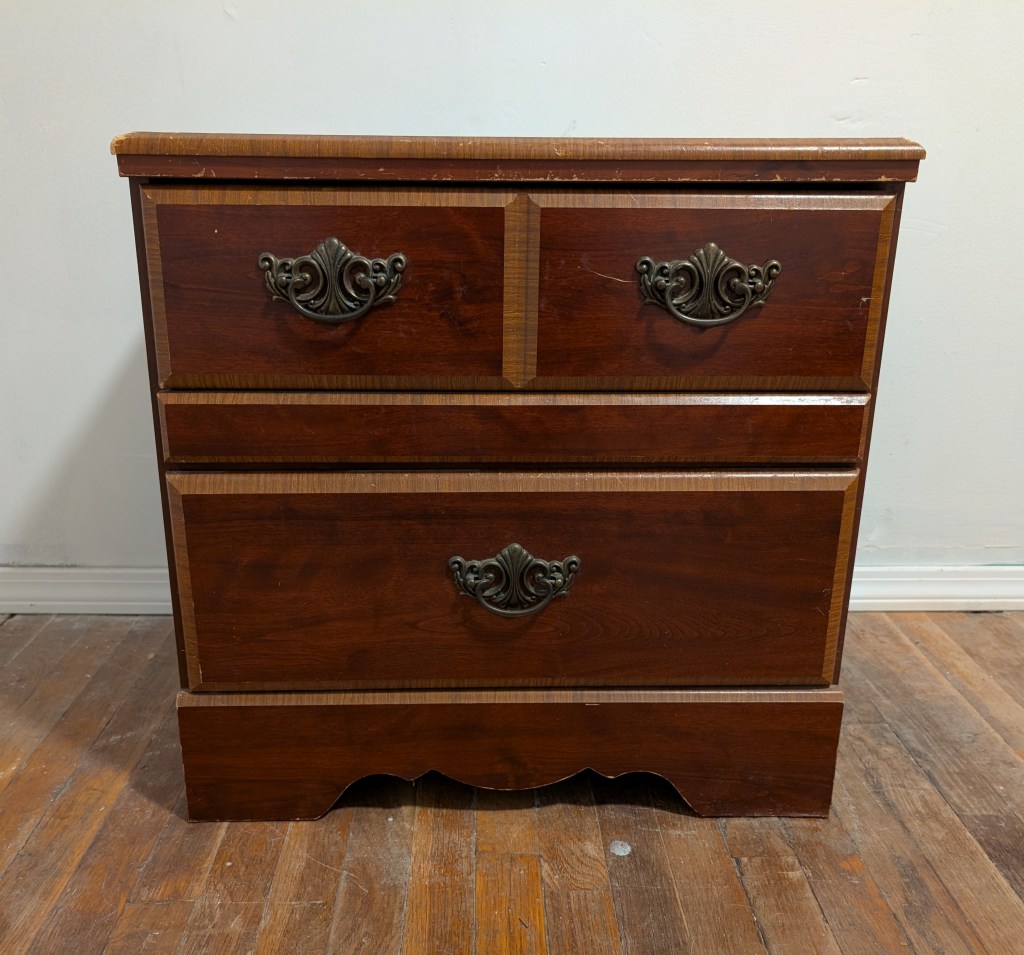
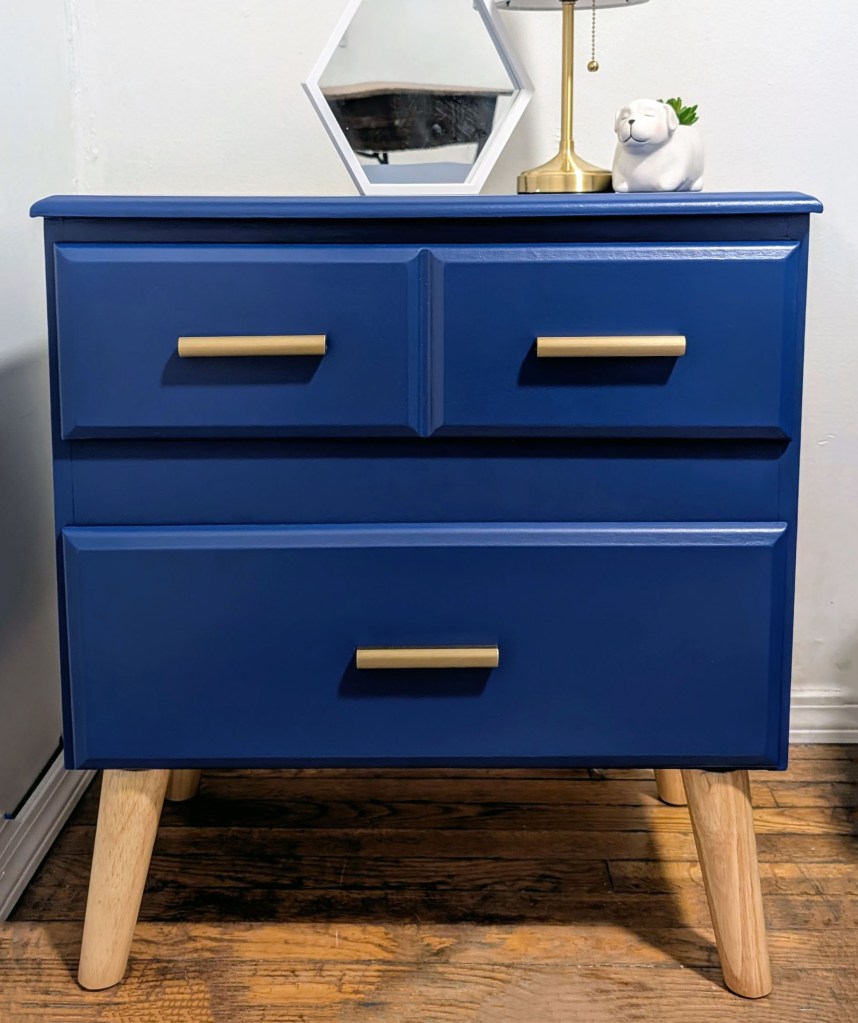
We found this nightstand on our local Craigslist for free. This piece was made out of particle board and thin veneer but it was in good shape and an overall very solid piece with functional drawers that didn’t need any repair.
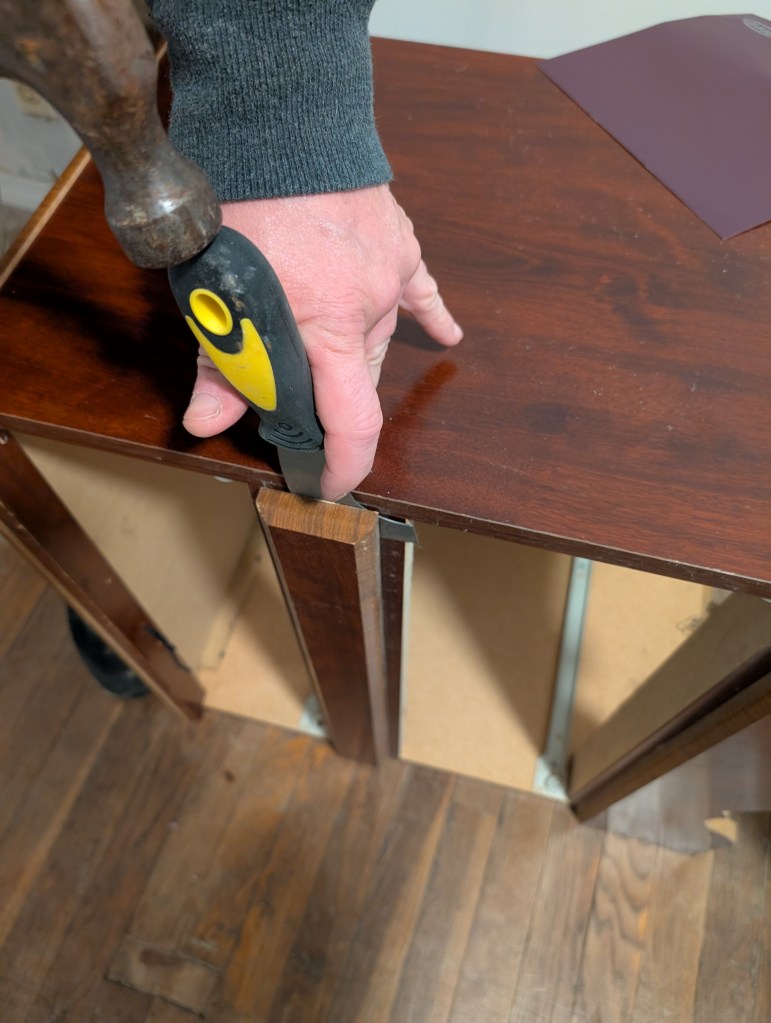
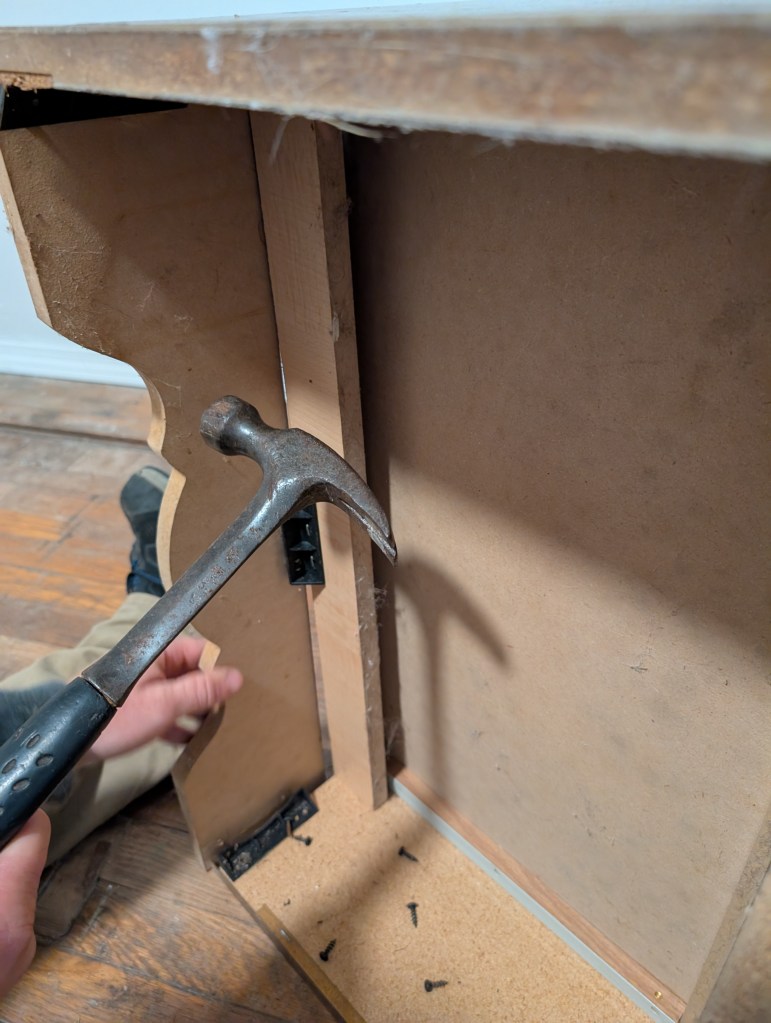
To remove the trim on the front Jay used a hammer and a flat scraper. He used a hammer to knock off the kick plate. We used a natural plastic wood filler to fill in the holes because we knew we would be painting the piece.
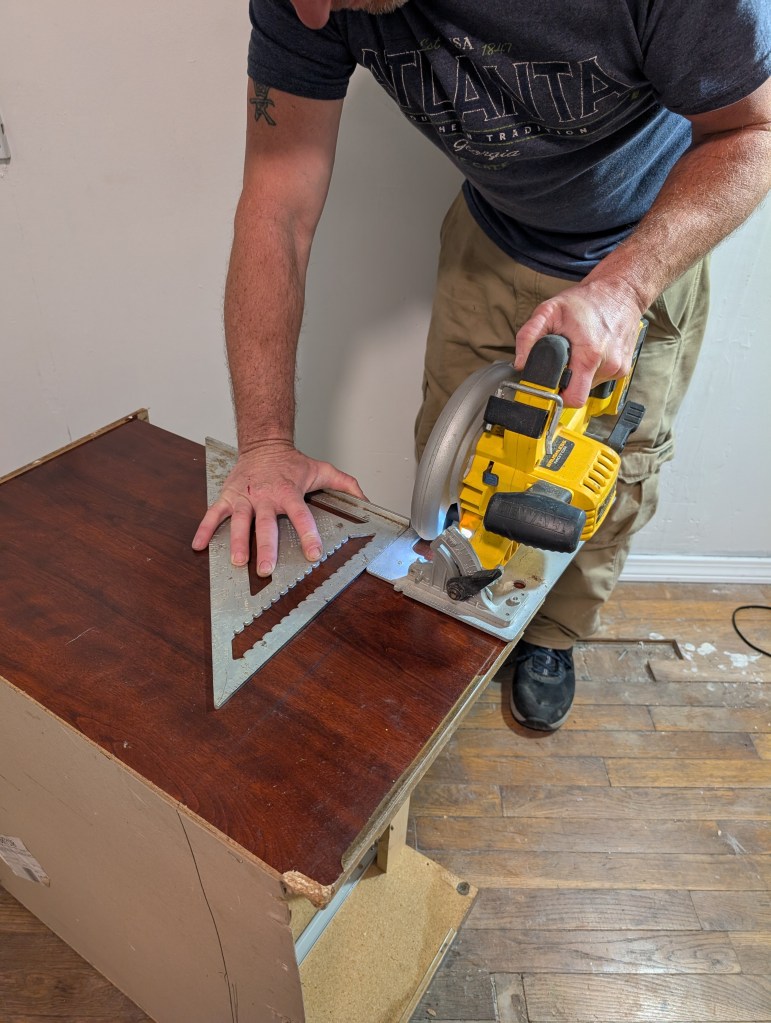
After drawing a straight line to meet the front edge, Jay used a square and a circular saw to cut an even base. When we achieved the desired look, we ran into our first problem. The back of the piece didn’t have any wood to secure the back feet to.
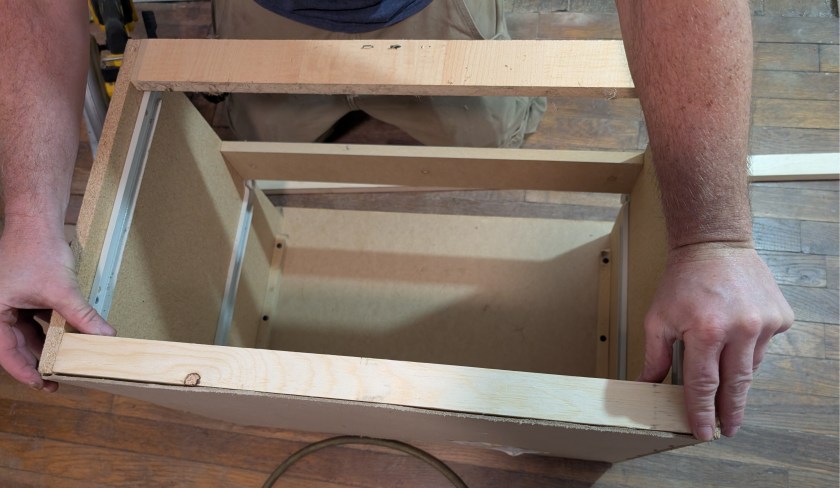
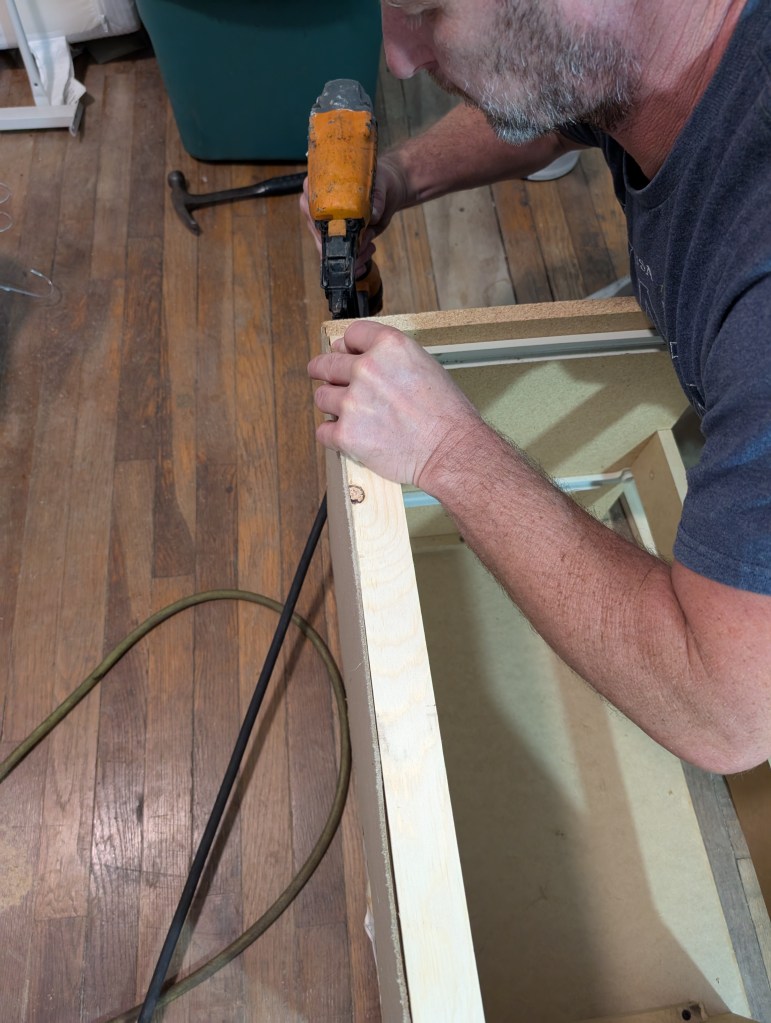
Jay then cut two 1″ x 2″ pine boards to size to fit inside the back bottom to secure the back feet and attached it with wood glue and trim nails. He then used trim nails to tighten any gaps on the piece and fill in all holes. The legs we picked out came with hardware plates that were easy to install and screw the legs in to.
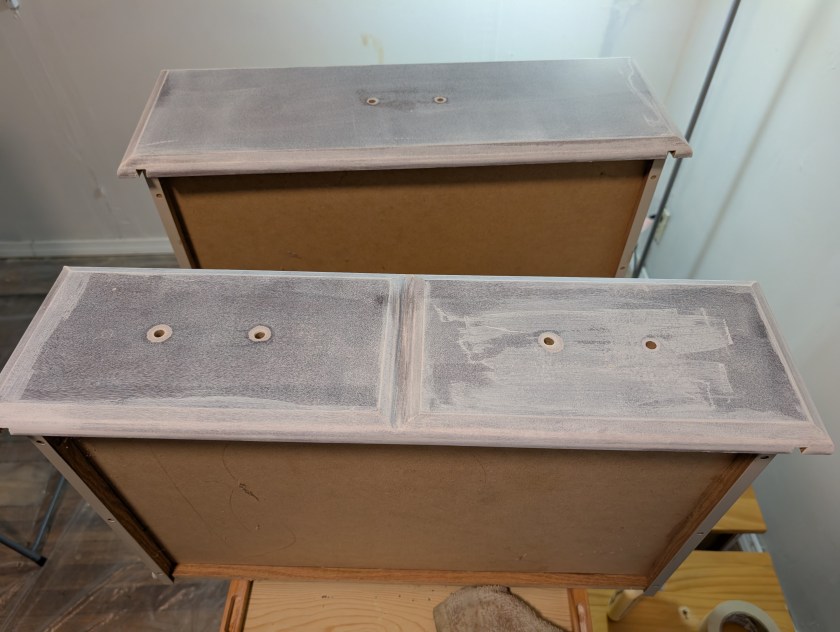
Lastly, we primed, painted and then we applied a top coat. The painting process was the most frustrating stage of this project for us. We used foam paint rollers with the primer and the paint. The paint seemed thin and didn’t adhere to the primer well. After four coats it was finally ready for a topcoat. We sprayed the topcoat on. The top coat sealed the paint well but looking back, maybe we should have used shellac instead of primer. What do you think?
Leave a comment below and let us know what you think of how this turned out. If you’re interested in any of the products we used and where to get them here’s a list.
- Primer
- Valspar Cabinet & Furniture paint in encore blue (Lowes)
- Top Coat
- Legs
- Adjustable Drawer Pulls
- Wood Filler


Leave a comment